to craigslist we went. we found a long dresser with mirror for $25. good shape, lots of drawers, and someone to help us load it in the car. sidebar: one of my favorite things about craigslist is getting to explore random parts of the city. like this dresser took us to a crazy huge apartment building by the cathedral. HUGE. and it was built into a crazy hill. fancy lobby, but probably less expensive rent because not convenient to anything. i had never even seen any of this area before. i love that. i would have never been to this part of the city if not for craigslist. other sidebar: i don't do pickups by myself. ever. i watch lifetime. not gonna happen.
anyway... it was an awful honey-colored stain. luckily, it is solid wood - one of those lovely 1990s pieces from a north carolina major furniture company. we decided to use an extra gallon of paint and refinish the piece. phil had bought grey paint for our bedroom in our rosslyn apartment, but nothing highlights disgusting carpet like grey walls ; )
we did a lot of research on the best way to refinish. we bought a sander. the best tutorials we found were young house love (of course! love that site) and centsational girl (she has so many good tips on painting and refinishing). we bought all of our supplies:
primer, good brushes (phil splurged and it was DEFINITELY worth it), sandpaper in several grits, paint, wood filler, floetrol, poly
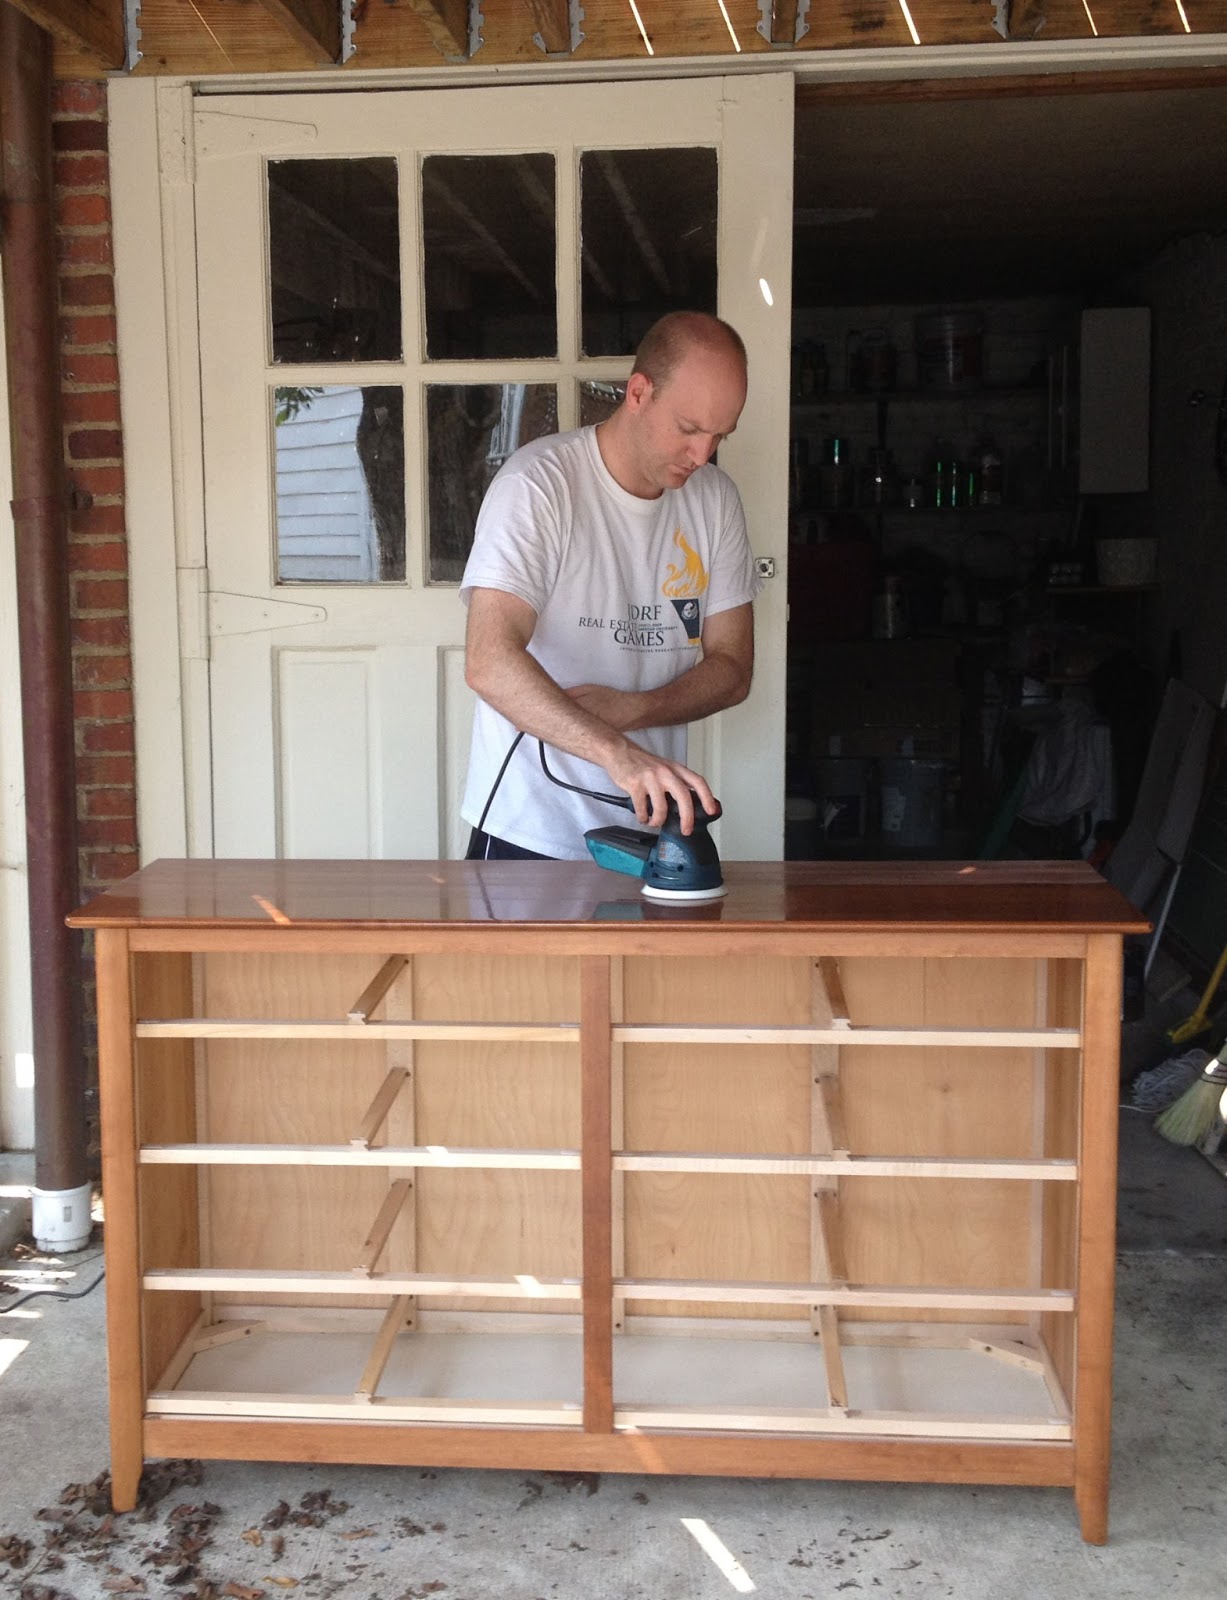
and we set up in the garage. we are always limited on time, so this project took us forever. like over a month. maybe 40 hours total (between two people), but spread out over several weekends to allow for drying and erratic schedules. needless to say, refinishing furniture is a big time investment. especially since we were not going for the shabby chic look. that looks is much quicker - less sanding, no priming, no even coats, no final poly coats. we decided we're growing out of the shabby chic look. i loved it in college, but too feminine for our first real house together (so i'm told).

first, we had to fill in a crack along the top of the dresser. we shoved it full of wood filler and let it dry. then we sanded. and sanded. and sanded. we used the random orbital on the large expanses and hand-sanded corners and edges. i used a sponge wrapped in sand paper. we started with a coarse grit and worked our way to finer. not super fine (yet), just prepping. we wiped everything down to get rid of the sandpaper.


we primed the entire dresser with two coats. we used long, even brushstrokes and tried to do a thin single coat on the entire piece. in between each coat, we sanded after the primer was dry. lots of sanding. hey, it's a good arm workout, right?


finally, it was time to paint! after a good sanding and wiping (no sawdust), we started to very carefully paint the dresser. phil was the best at long, smooth strokes for the top of the dresser - at over five feet long, that's a long stroke! it took awhile to get into the groove of getting a smooth finish. i recommend starting on bottom drawers, or practice on the back of the piece. you'll get the hang of it. another tip to help in the smooth finish is adding floetrol. we mixed it into red solo cups with the paint, following the directions on the back of the bottle (we found it at our local ace - love that place!). we did three thin coats. thin coats are better in the fight against drips and globs. it's okay if you get a couple of ridges, though. guess what? you'll sand them out! like i said, a lot of sanding. we used the finest grit sandpaper here (like 120 or more). and we were very careful on the edges - we're not going for shabby chic, remember?

the color turned out to be not as grey as anticipated, more slate blue. totally happy with it (and soooo glad it didn't end up on walls). painting all of the actual color took a long time. it was slow painting, since we were being so careful. then we'd have to wait for it to dry before sanding and painting another coat. what usually happened is we would paint and then have to wait until the next day or weekend to do the next coat. to keep the paint fresh in between our work and not waste any pre-mixed paint with floetrol, i would cover the solo cup with saran wrap. i would put the wrap so it touched the top of the paint and then put a rubber band around the cup. it kept quite nicely and didn't form a skin. we'd just mix it a little when we were ready to start again.

definitely not done - i just put the old knobs back on so we could start using it. i have a few ideas for knobs; i want masculine knobs. i loved these at anthropologie:

but i waited too long and missed them on sale : ( back to the drawing board... i will post photos once it's actually complete!
No comments:
Post a Comment